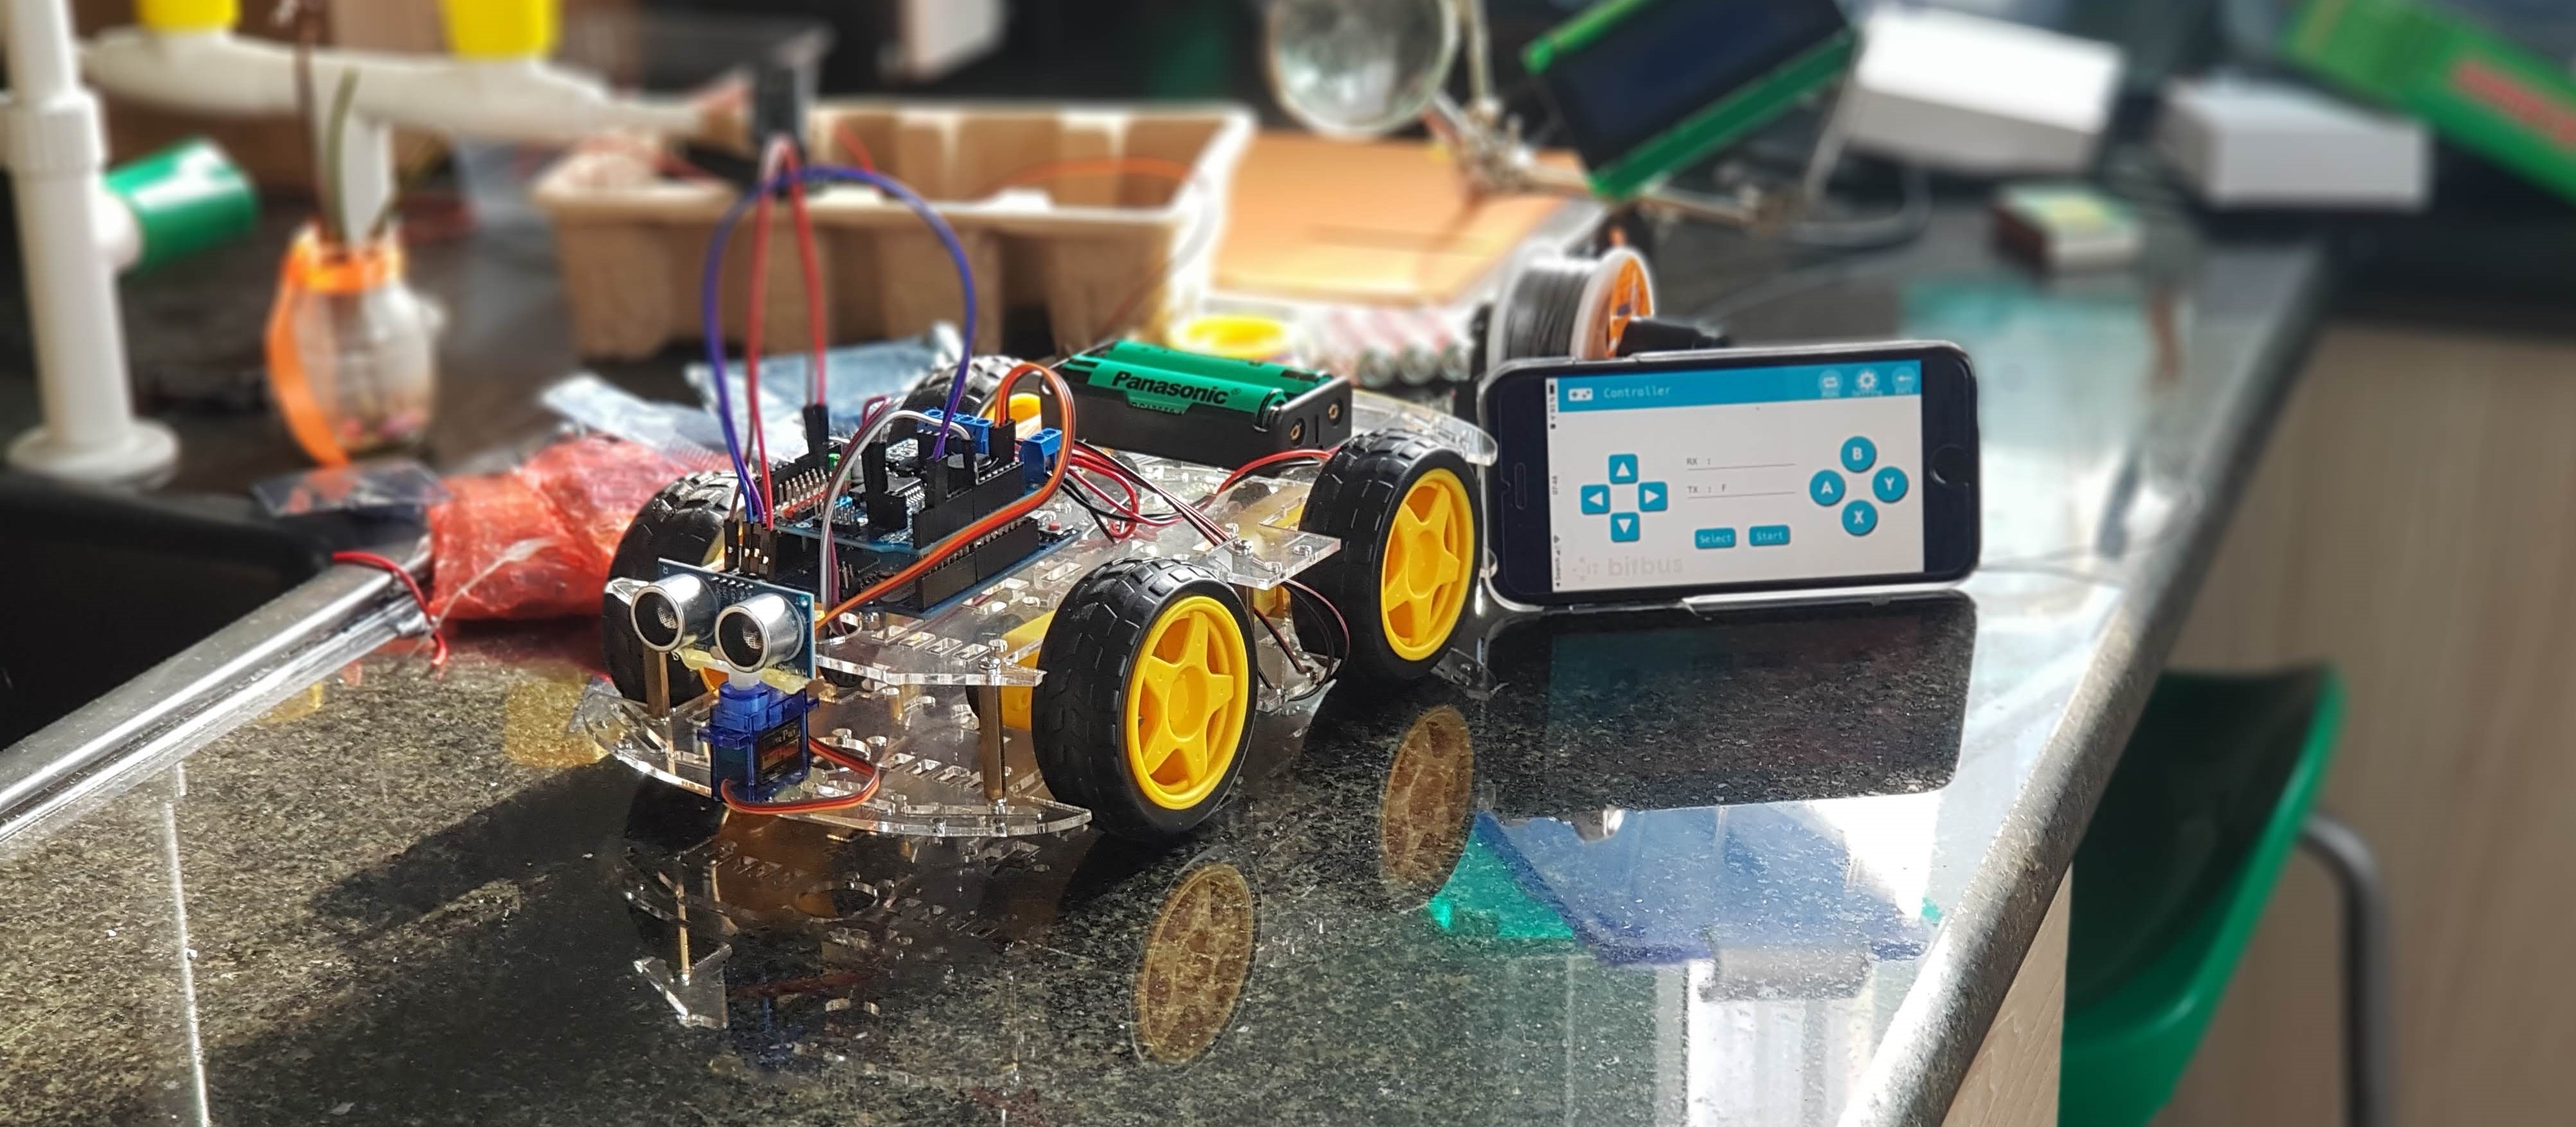
ASA Robotics, IoT and Programming
This is an ASA After School Activity at the AISVN from fall 2019. It includes Robotics, IoT and Programming.

Hardware
We ordered the following materials at CỬA HÀNG IC ĐÂY RỒI for all students to have a common ground for further experiments both in software and hardware:
- Arduino Leonardo (because of the Micro-USB interface) 125.000₫
- Khung xe robot 4 bánh (4 wheels - stable driving) 140.000₫
- Arduino Motor Shield L298 120.000₫
- Module thu phát bluetooth HC-05 80.000₫
- Pin Cell 18650 4200mAh 3.7V (4 AA batteries are not enough for motor and bluetooth, and not rechargable) 35.000₫
- Hộp đế pin 18650 loại 2 cell battery holder for two 18650 batteries 7.000₫
- Công tắc gạt MTS-103 3 trạng thái power switch for the robot 5.500₫
- Đồng hồ đo Vôn (Volt) 3.5-30V Voltage display to check the charge level of the battery 22.000₫
- Four 10 cm cable 0.25 mm² to connect the motors to the shield ₫
- Three female-male jumper wire to connect the bluetooth module to the Arduino (+3.3V, GND, RX)
- So in general: some jumper wires 19.000₫
- Maybe a breadboard to connect 5.000₫
All in all some 550.000₫ are already spend on these simple materials. Further steps include the collaborative project of a self driving robot (Khung xe robot omni đa hướng 2.250.000₫), controlled by an Raspberry Pi 1.580.000 VND with Camera 305.000 VND for object detection and obstacle avoidance.
Building steps
- Assemble the robot
- Connect the motors to M1 and M4 on the L293D shield
- Connect the bluetooth module pin TXD to pin 8 of the motorshield
Software iOS
- Upload bluetooth-robot_iOS.ino to your Arduino Leonardo
- Install BitBlue from the Appstore. (ZOIT Sung_Han Lee Bitbus Inc.)
- Connect to “Turboshaft” and start driving!
Software Android
- Upload bluetooth-robot_Android.ino to your Arduino Leonardo
- Install BLE joystick on your phone/tablet.
- Connect to “Caterpillar” and start driving!
Software general
- Upload bluetooth-remote-motor-1.ino to your Arduino Leonardo
- Install Arduino Bluetooth Controller on your Android smartphone
- Connect to the bluetooth module
- Configure the controller to send:
- “U” for up/forward
- “D” for down/backward
- “L” for left turn
- “R” for right turn
- “0” for stop
- “T” for turbo
- “M” for medium
- “S” for slow
- Have fun!
Pin assignment bluetooth
The motorshield uses the pins 10 and 12 for motor 1 and 11 and 13 for motor 2. Digital pins: 12 and 13. Analog pins: 10 and 11. Well, that’s PWM.
| pin | general | used for | pin | general | used for |
|---|---|---|---|---|---|
| 0 | RX | A0 | |||
| 1 | TX | A1 | |||
| 2 | ultrasonic trigger | A2 | |||
| 3~ | ultrasonic echo | A3 | |||
| 4 | buzzer | A4 | |||
| 5~ | A5 | ||||
| 6~ | |||||
| 7 | |||||
| 8 | bluetooth receive | ||||
| 9~ | servo | ||||
| 10~ | E1 | ||||
| 11~ | E2 | ||||
| 12 | M1 | ||||
| 13 | LED | M2 |
As for PWM: Leonardo offers 3, 5, 6, 9, 10, 11 and 13 as PWM pins. A total of 7. For speed control we need only 2.
Pin assignment PS2 controller
The motorshield uses the pins 10 and 12 for motor 1 and 11 and 13 for motor 2. Digital pins: 12 and 13. Analog pins: 10 and 11. Well, that’s PWM.
The original PS2 (wireless) controller used the same pins and have to be redifined to avoid collision. Here is the new pin assignment.
| pin | general | used for | pin | general | used for |
|---|---|---|---|---|---|
| 0 | RX | Bluetooth RX | A0 | ||
| 1 | TX | Bluetooth TX | A1 | ||
| 2 | A2 | ||||
| 3~ | A3 | ||||
| 4 | A4 | ||||
| 5~ | A5 | ||||
| 6~ | PS2 Clock (7) | ||||
| 7 | PS2 Attention (6) | ||||
| 8 | PS2 Command (2) | ||||
| 9~ | PS2 Data (1) | ||||
| 10~ | E1 | ||||
| 11~ | E2 | ||||
| 12 | M1 | ||||
| 13 | LED | M2 |
As for PWM: Leonardo offers 3, 5, 6, 9, 10, 11 and 13 as PWM pins. A total of 7. For speed control we need only 2.
New pins:
6, 7, 8, 9 for PS2 remote control 10, 11 PWM for motor 1 and 2 12, 13 enable for motor 1 and 2
Inspiration
This is the old T100 robot car that served as inspiratin for the new 4 wheel robot with Bluetooth BLE control and the new motorshield and the PS2 wireless analog controller.

Schedule 2019
Im September 2019 we started our ten sessions of ASA with 10 students. By the end 6 of the project robots were driving and could be controlled remotely. Here the schedule:
- 2019/08/26 Introduction to Arduino IDE, first Lenoardo given to students
- 2019/09/02 More materials arrive
- 2019/09/09 Several motors are soldered
- 2019/09/16 First robot car drives forward and backward
- 2019/09/23 More students learn soldering and make progress
- 2019/09/30 We get a ESP32 cam to monitor the area in front of the robot car
- 2019/10/07 Upgrade to ultrasonic distance sensor
- 2019/10/14 Coding to connect a PS2 wireless controller to the Leonardo
- 2019/10/21 Two finished robots challenge one another
- 2019/10/28 Helping peers finish the last robots
The prerelease of the software v0.1 was published on November 14. On November 11th started ASA Session 2 with 4 students.

