T100 Arduino robot car with bluetooth control
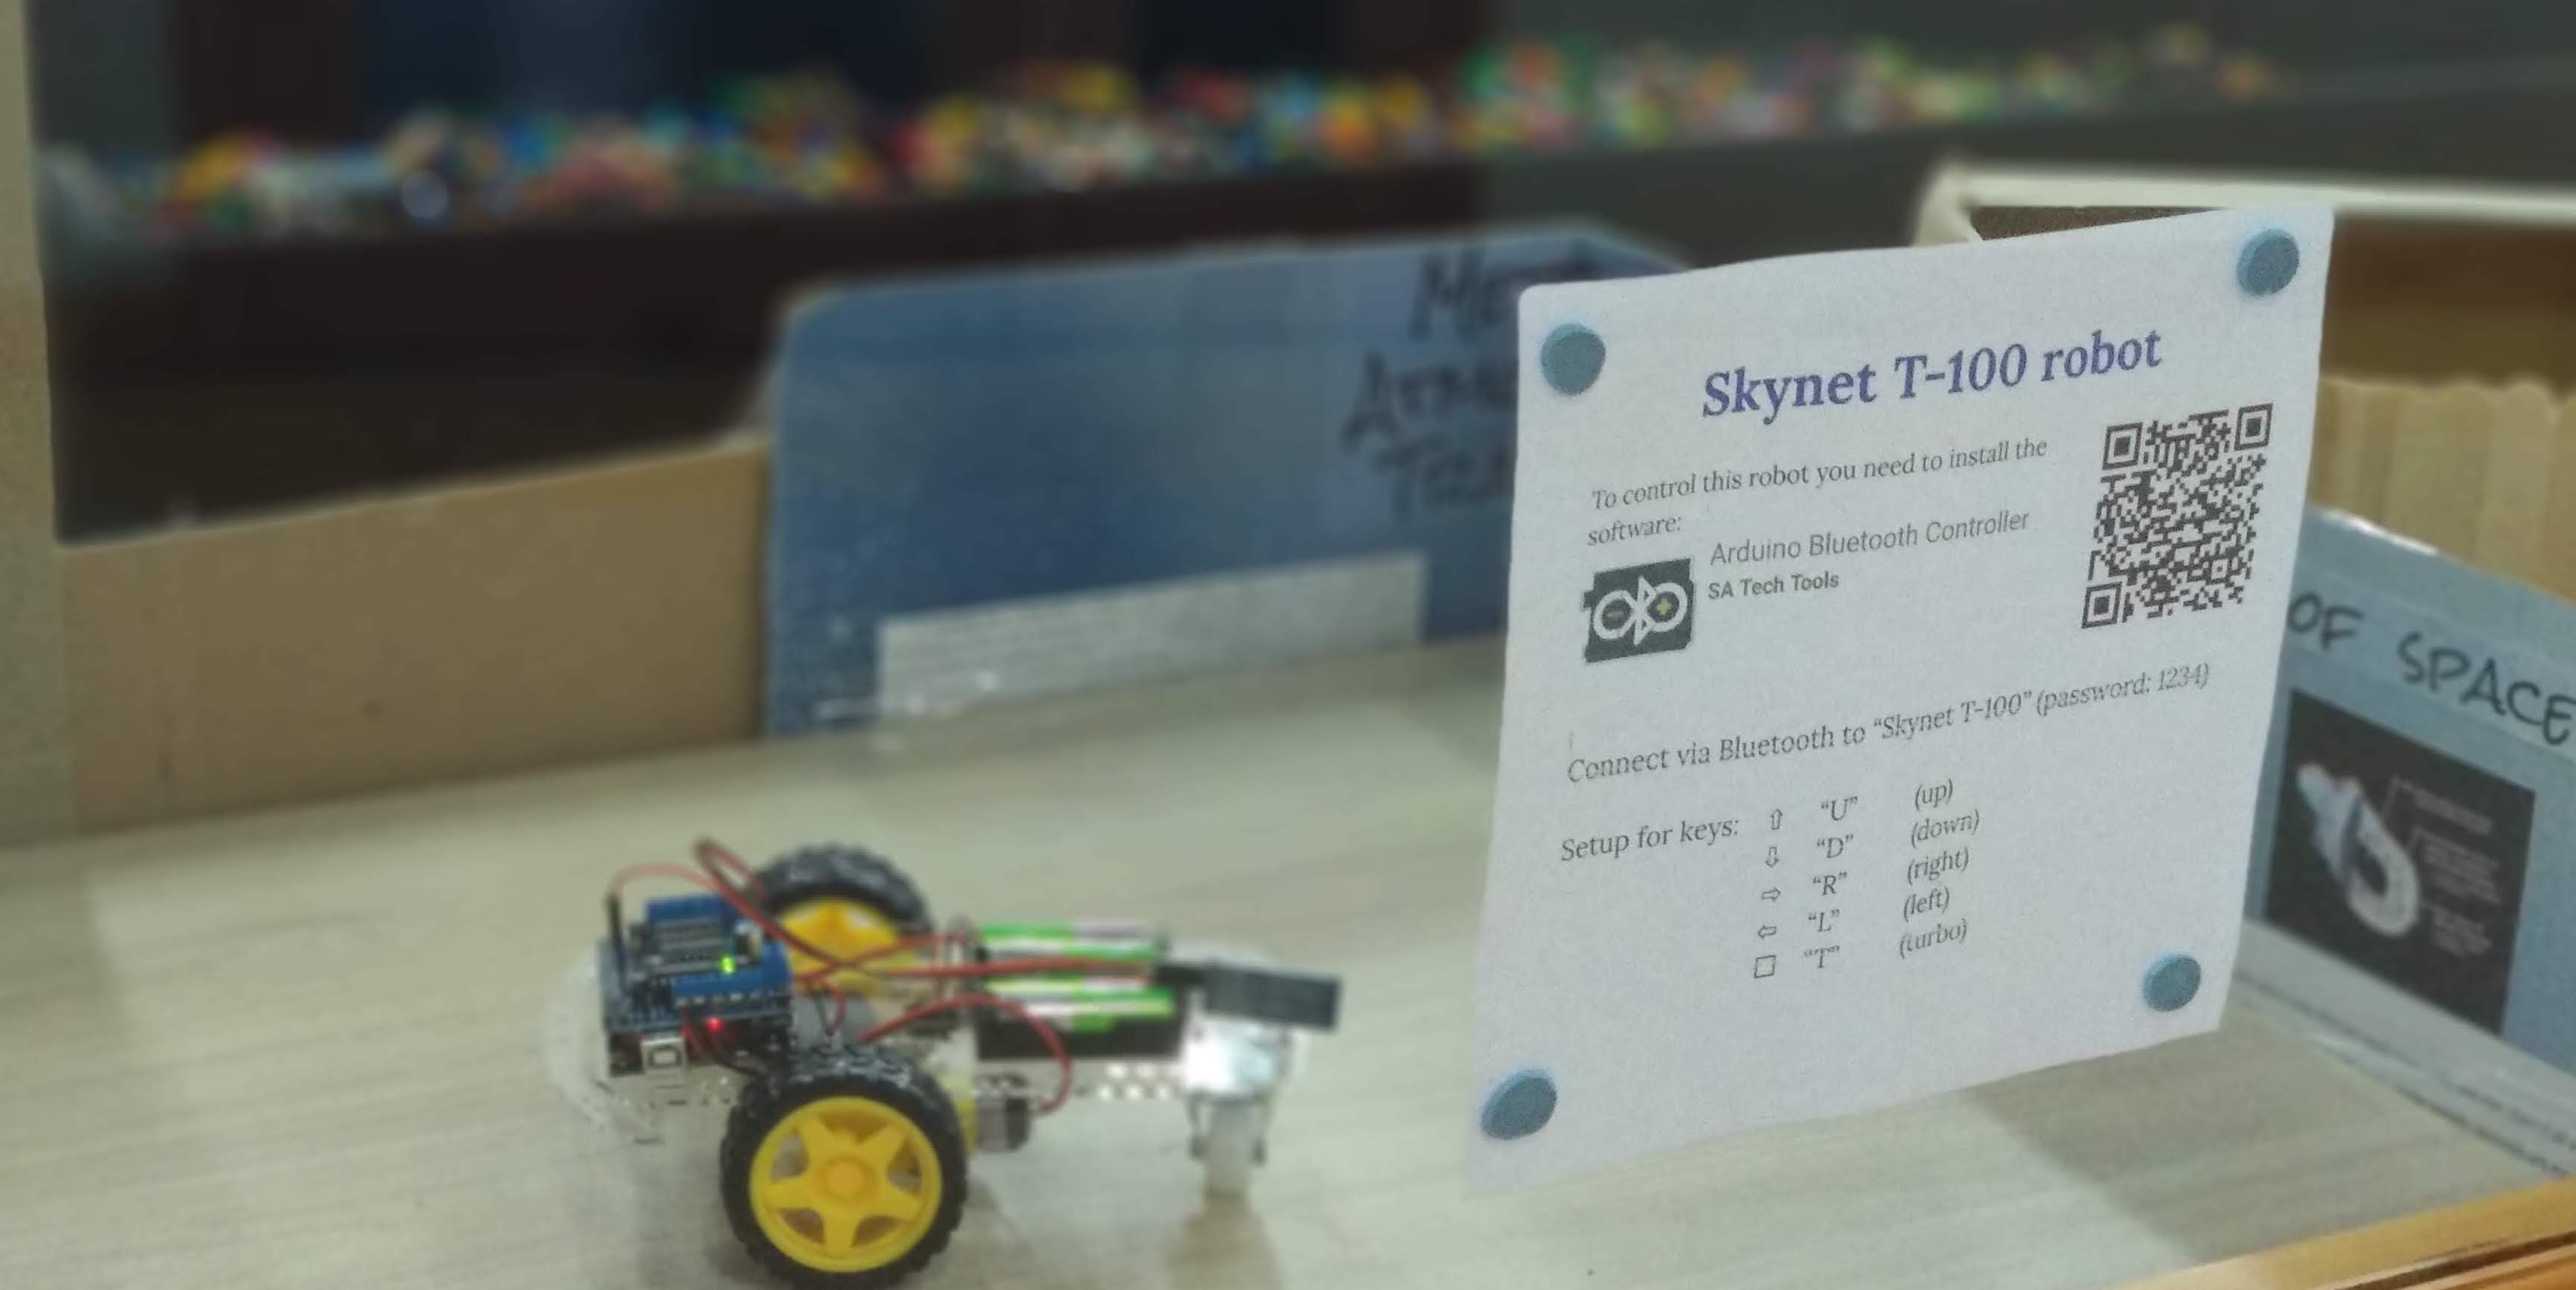
This is our first working sample of a remotely controlled robot at the American International School Vietnam. It has been build in September 2018. That’s how it looks:

The software for the Arduino is T100.ino. Library and Android software are described further down.
Materials
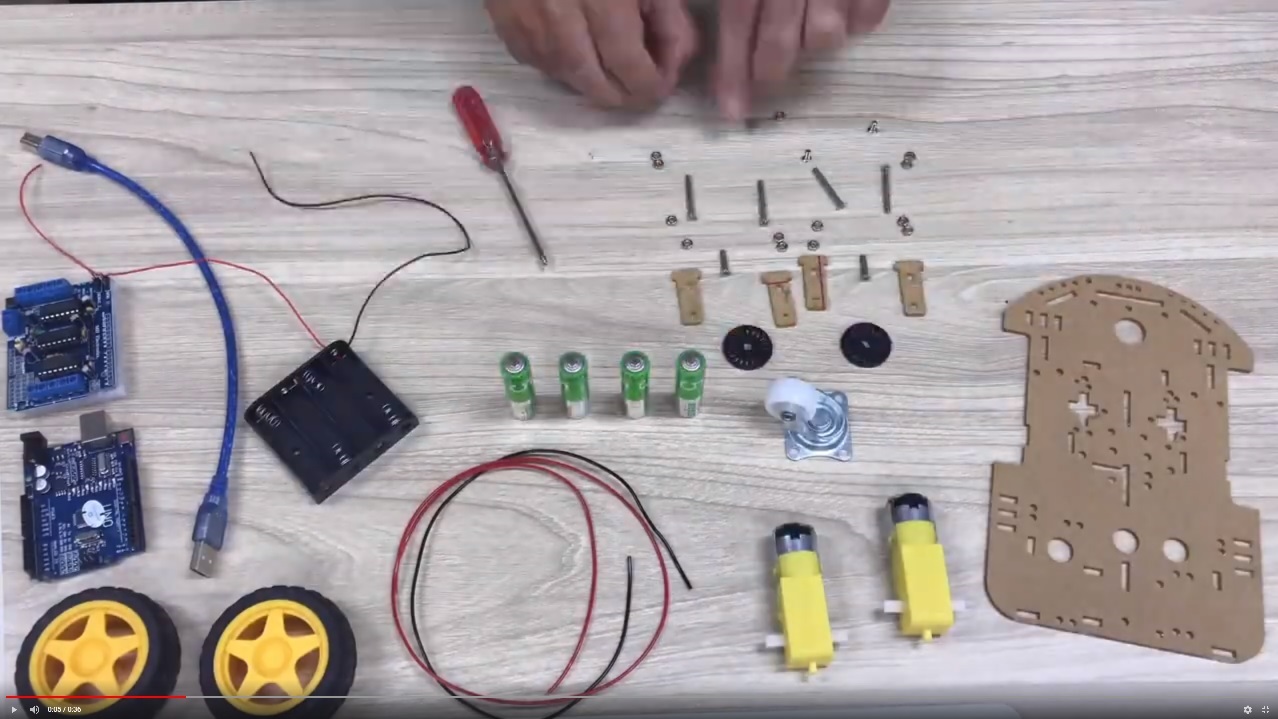
All materials were ordered at CỬA HÀNG IC ĐÂY RỒI. This is the list:
- Arduino UNO R3 DIP 110.000₫
- Khung Xe Robot 68.000₫
- Shield L293D motor arduino 34.000₫
- Module thu phát bluetooth HC-05 80.000₫
- Four 10 cm cable 0.25 mm² to connect the motors to the shield
- Three female-male jumper wire to connect the bluetooth module to the Arduino (+3.3V, GND, RX)
- So in general: some jumper wires 19.000₫
- Maybe a breadboard to connect 5.000₫
Building steps
- Assemble the robot
- Connect the motors to M1 and M4 on the L293D shield
- Add the AFMotor.h motor library (library/AFMotor.zip) in the Arduino IDE
- Upload the program T100.ino to your Arduino Uno
- Install the software Arduino Bluetooth Controller to your Android phone
- Connect to the bluetooth module of the robot
- Configure the keys of the remote the following:
- “U” for up
- “D” for down
- “L” for left
- “R” for right
Your result should work:

Limitations
The bluetooth module HC-05 (as well as HC-06) are only Bluetooth 2.0 and don’t work with iOS, since iOS requires Bluetooth 4.0 Low Energy (BLE). We created the T-110 with the AR-06 BLE (Bluetooth Low Energy - Bluetooth 4.0) module. This project is described here as T110.
Video about build in 30 seconds
I uploaded a timelapse video about the creation of this robot in 30 seconds. It took 2 hours.
Code
#include <AFMotor.h> // download from subdirectory 'library' here and install zip file
#include <SoftwareSerial.h>

#define LED_PIN 13

AF_DCMotor motor1(1, MOTOR12_64KHZ); // create motor #1, 64KHz pwm
AF_DCMotor motor4(4, MOTOR12_64KHZ); // create motor #2, 64KHz pwm
SoftwareSerial BTSerial(A0, 3);      // RX | TX  on A0 and D3 because
//    pin 2 creates errors on my motor shield, analog pin is fine ...

char BTinput = '0';
byte speed = 200;

void setup() {
  motor1.setSpeed(100);
  motor4.setSpeed(100);     // set the speed to 200/255
  BTSerial.begin(9600);  // HC-10 default speed
  Serial.begin(57600);   // just to check while programming
}

void loop() {
  if (BTSerial.available())
  {
    BTinput = BTSerial.read();
    if (BTinput == 'A')// up
    {
      motor1.run(FORWARD);
      motor4.run(FORWARD);
    }
    if (BTinput == 'C')// down
    {
      motor1.run(BACKWARD);
      motor4.run(BACKWARD);
    }
    if (BTinput == 'D')// left
    {
      motor1.run(FORWARD);
      motor4.run(BACKWARD);
    }
    if (BTinput == 'B')// right
    {
      motor1.run(BACKWARD);
      motor4.run(FORWARD);
    }
    if (BTinput == 'G')  // that's the "X" key
    {
      motor1.run(RELEASE);      // stopped
      motor4.run(RELEASE);
    }
    if (BTinput == 'E')// faster - plus 10 - triangle
    {
      speed = speed + 10;
    }
    if (BTinput == 'H')// slower - minus 10 - square
    {
      speed = speed - 10;
    }
    if (BTinput == 'F')// maximum speed - circle
    {
      speed = 255;
    }
    if( speed > 255 ) speed = 255;
    motor1.setSpeed(speed);
    motor4.setSpeed(speed);
    Serial.print("recieved: ");
    Serial.print( BTinput );
    Serial.print(" speed: ");
    Serial.println( speed );
  }
}
Further details
Details, instructions and pictures can be found in the Wiki.


